|
|
|

|


|
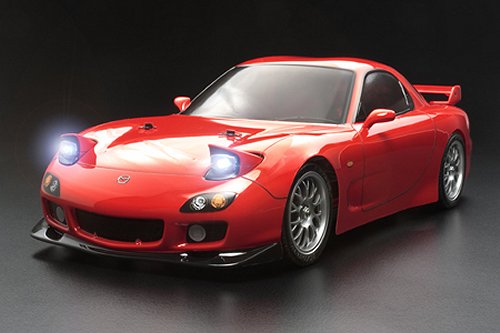
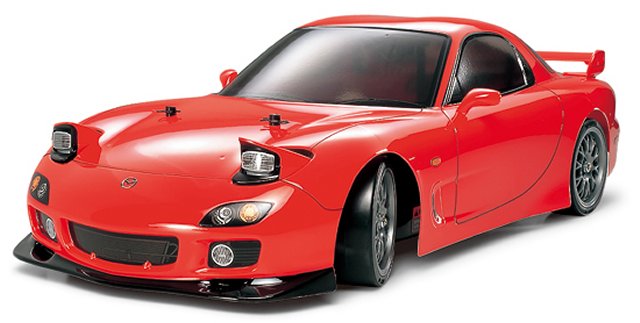
Tamiya Mazda RX-7 - 58382
|
Released by Tamiya on February 21, 2007, this TT-01 Chassis electric RC model, is of the Mazda RX-7 sports car that has a Wankel Rotary engine.
The Tamiya lightweight Lexan polycarbonate body shell accurately recreates the beautifully curved RX-7 futuristic body shape. An electronic speed controller (ESC) and LED lights are included in the kit.

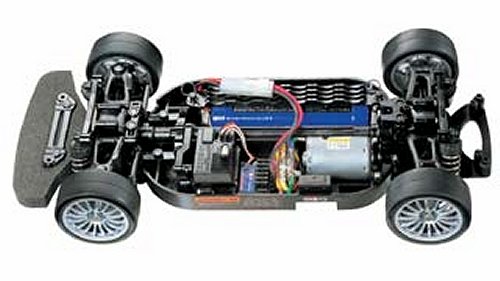
The budget priced TT-01 Chassis was introduced by Tamiya in 2003 to replace the highly successful TL-01 that had been used for over thirty RC models since its introduction in 1997.
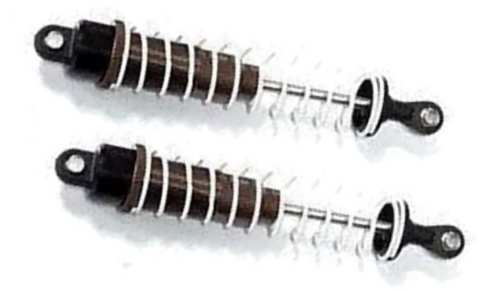
A silver can 540 motor, coil spring over friction shock absorbers and plastic bush type bearings come as standard in this low budget model.
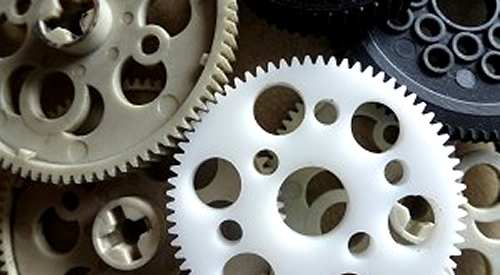
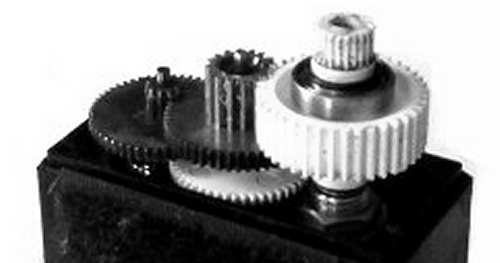
The Differentials are orbital gear type and should be greased at regular intervals to avoid excessive wear. My recommendation is to use molybdenum grease.
The bathtub chassis has battery cut-outs for ladder type packs, but will accommodate stick (shotgun) packs also. A low centre of gravity and good balance provide much improved handling over the TL-01.
A number of hop-ups are available for the TT-01 to improve performance, but there is one I would recommend before you first assemble the kit. As mentioned before, the kit comes with plastic/nylon and sintered brass bush type bearings, that after a short while, when dust and grit get into them, will abrade the metal drive shafts that spin in them. If you are building this kit to race seriously, these should be replaced by steel shielded ball bearings.


|
|
|
|
|
|
Tamiya Mazda RX-7 #58382 TT-01 - Chassis
 |
|
Tamiya Mazda RX-7 #58382 TT-01
 |
Buying a Used Tamiya Mazda RX-7
|


|


|
|
|
|
Hints, Tips and Information
Emergency Plastic Part Repairs
It always happens when you least expect it. You are racing hard; and suddenly some idiot decides to side swipe you' and break your front wishbone. Even though you may carry spare parts for just about everything on your car, it always seems to be the same part that breaks, and although you made a mental note the last time it happened to get a replacement you soon realise those mental notes were not worth the paper they are written on.
|
|
Hints, Tips and Information How to Charge Rechargeable Batteries for Peak PerformanceNi-Cad (Nickel Cadmium) Batteries
1/ All Ni-Cad Batteries have to be Discharged soon after use. This is to avoid the dreaded "Memory" effect that on subsequent re-charges can cause a momentary drop in performance during a race. A simple discharger can be made from a car 12v bulb.
Ni-Mh (Nickel Metal Hydride) Batteries
1/ Never charge Ni-Mh batteries at a current higher than 4.5 amps. Although these batteries can give a higher voltage than Ni-Cad Batteries, they are much more sensitive and easy to damage if charged too quickly. |
|
RC Models:
|
Radio & Motors: |
Other
Accessories: |