|
|
|

|


|
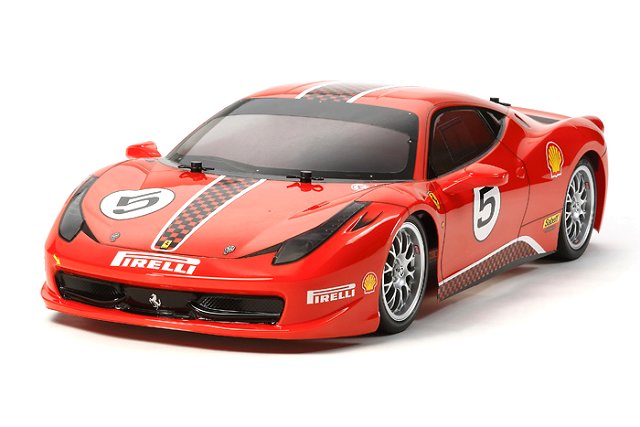
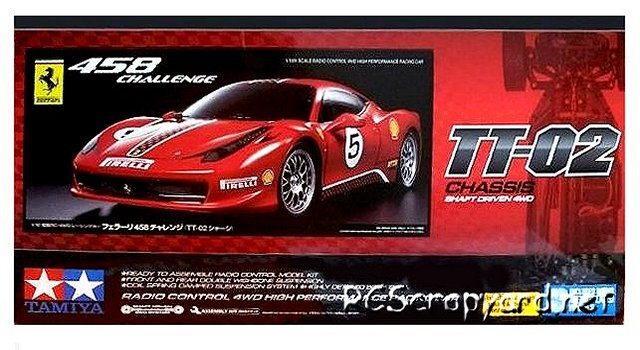
Tamiya Ferrari 458 Challenge - 58560
|
Released by Tamiya on May 22, 2013, the Ferrari 458 Challenge was their first self assembly RC model to use the TT-02 chassis.
Based on the Ferrari 458 Italia, the Challenge is a circuit car that was first raced in 2009. The design of the original car was aided by Michael Schumacher, 7 times Formula One world Champion.
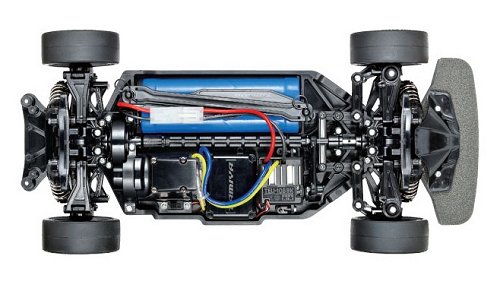
The TT-02 Chassis was produced by Tamiya as an entry level model, to replace the aging TT-01 Chassis, that has been around since 2003. The TT-02 design is capable of utilising modern day rechargeable batteries, is also durable and easy to build and maintain.
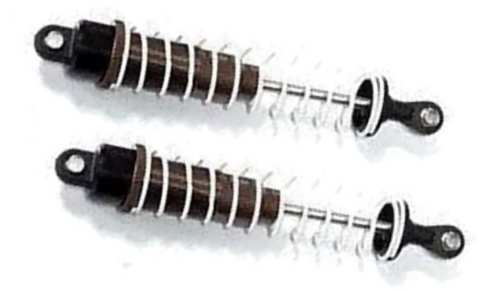
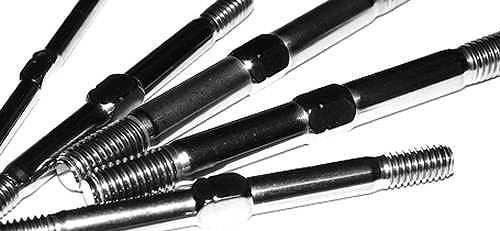
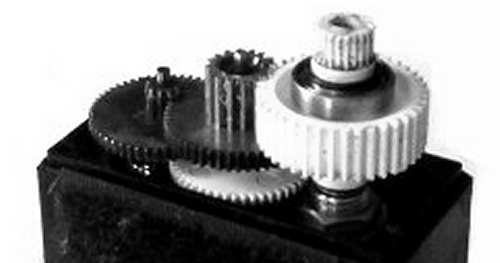
The 4WD shaft driven Chassis configuration, employs front and rear orbital bevel gear differentials, fully independent double wishbone suspension, with coil spring over friction dampers and dogbone drive-shafts.
A 540 brushed silver can electric motor and an Electronic Speed Controller (ESC) are included in the kit. Radio Equipment, Battery, Charger and paint for the body shell must be purchased separately.
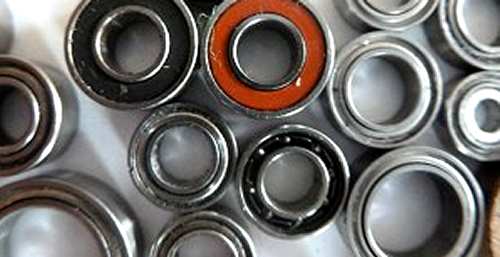
Like the majority of Tamiya budget kits, this one comes with Plastic and sintered brass Bush type bearings, that when dust and grit get into them, abrade the drive shafts that spin in them, making them sloppy and causing dog-bone problems. I recommend these should be replaced, by a full set of Shielded Ball Bearings, on initial assembly or as soon as possible.
To get the best from the TT-02 Chassis, it needs to be fine tuned so it has enough grip to hug the corners at high speed, without slipping off the track and accelerate smoothly under control. Small adjustments can make a Big difference and our simple to understand, step by step procedure, will guide you to the best Set-up for your driving style.


|
|
|
|
|
|
Tamiya Ferrari 458 Challenge #58560 TT-02 - Chassis
 |
|
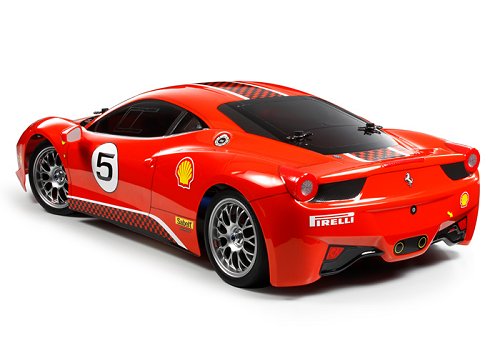
Tamiya Ferrari 458 Challenge #58560 TT-02
 |
Buying a Used Tamiya Ferrari 458 Challenge
|


|


|
|
|
|
Hints, Tips and Information
Rubber Tires for RC Models
Rubber Tires ALWAYS should have either soft sponge or rubber inserts. They will not function as they should without them. And if you are totally serious about your racing they should be glued to the rims. How to Mount Rubber Tires onto Wheels/Rims.
Before mounting your Tires, I would recommend talking to the more experienced racers at your local club, concerning what inserts they use. Even the top level racers rely on a bit of local knowledge on tracks they have never raced before. |
|
Hints, Tips and Information Electric Motors for RC ModelsBrushless Motor Basics
Choosing the right Brushless motor for your needs can be a daunting task for those new to Radio Controlled Models. If you have a local club perhaps you could ask some of the more experienced members for their advice, but a little basic knowledge about the subject, so you know what questions to ask is always useful. |
|
RC Models:
|
Radio & Motors: |
Other
Accessories: |