|
|
|

|


|
|
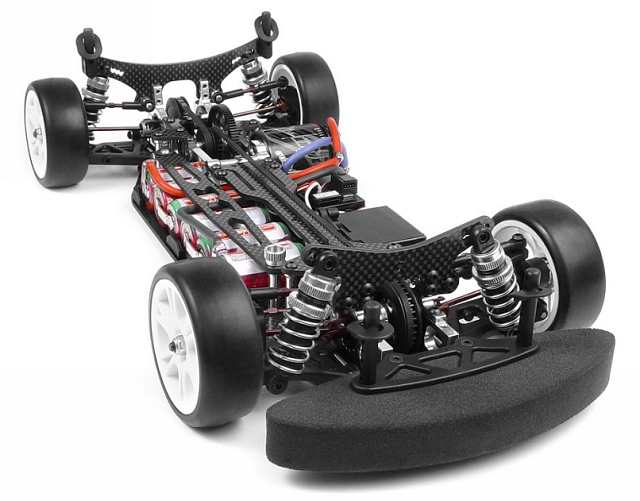
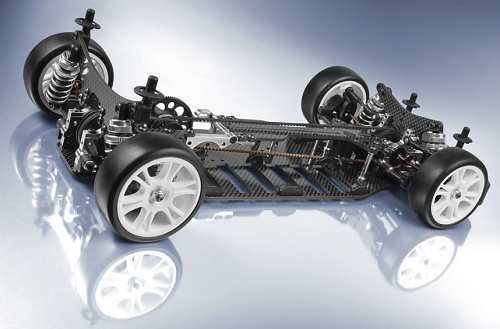
1/10 Scale Electric Rally/Touring Car:
Xray T2 - Series - Radio Controlled ModelsHistory and Info:
Originally introduced by Team Xray in January 2006, the 4WD T2 - 300006 - was described as a complete re-design, with the newly developed XRAY Multi-Flex Technology.
▼ Scroll Down for More Images ▼
|


|
|
|
|
★ Xray T2 Chassis ★
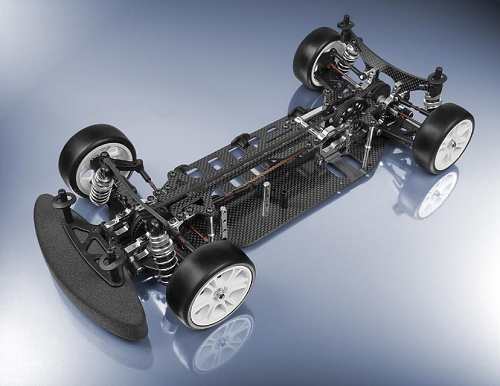
★ Xray T2 Chassis ★
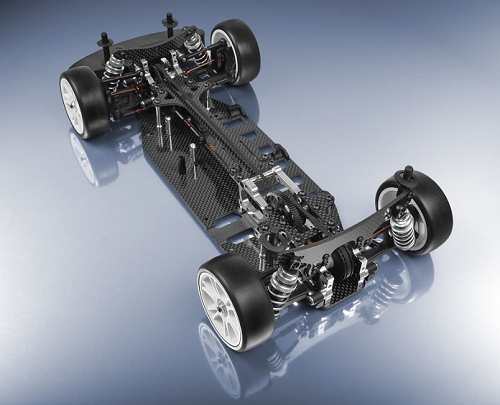
★ Xray T2 Chassis ★
|
Buying a Used Xray T2
|
|
Manufacturers and Brands Catalogued, Listed and Reviewed by RC-Scrapyard.
At present, the RC Model Manufacturers, Brands and Distributors covered by us are: ABC Hobby, Academy, Acme Racing, Agama Racing, Amewi, Ansmann Racing, ARRMA, Team Associated, Atomic RC, Axial, AYK, Bolink, BSD Racing, Capricorn, Carisma, Carson, Caster Racing, Cen, Corally, Custom Works, Durango, Duratrax, ECX - Electrix, Exceed RC, FG Modellsport, FS-Racing, FTX, Fujimi, Gmade, GS-Racing, Harm, HBX, Helion, Heng Long, Himoto Racing, Hirobo, Hitari, Hobao, Hong-Nor, Hot Bodies, HPI, HSP, Intech, Integy, Jamara, JQ Products, Kawada, Kyosho, Losi, LRP, Maisto, Mardave, Marui, Maverick, MCD Racing, Megatech, Mugen, New Bright, Nichimo, Nikko, Nkok, Ofna, Pro-Pulse, Protech, PTI, RC4WD, Redcat Racing, RJ-Speed, Robitronic, Schumacher, Seben, Serpent, Smartech, Sportwerks, Step-Up, Tamiya, Team-C Racing, Team Magic, Thunder Tiger, Tomy, Top Racing, Traxxas, Trinity, Tyco, Vaterra RC, Venom, VRX Racing, WLToys, X-Factory, Xmods, Xpress, Xray, XTM, Yankee RC, Yokomo, ZD Racing and Zipzaps. |
|
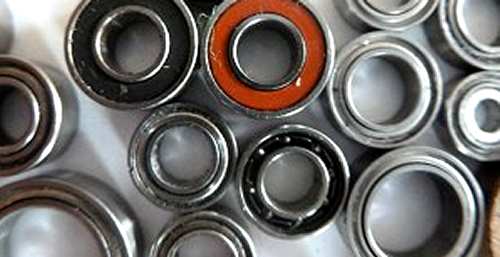
Hints, Tips and Information Rechargeable Batteries
|
|
Hints, Tips and Information
Emergency Plastic Part Repairs
It always happens when you least expect it. You are racing hard; and suddenly some idiot decides to side swipe you' and break your front wishbone. Even though you may carry spare parts for just about everything on your car, it always seems to be the same part that breaks, and although you made a mental note the last time it happened to get a replacement you soon realise those mental notes were not worth the paper they are written on.
|
|
RC Models:
|
Radio & Motors: |
Other
Accessories: |