|
|
|

|


|
|
1/8 Scale Nitro Rally/Touring Car:
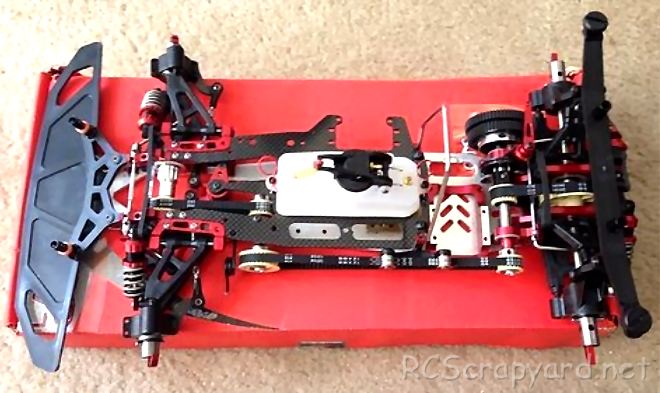
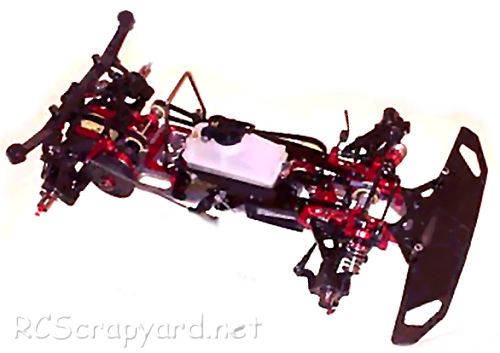
Capricorn LAB C801-CE Collari Edition (Radio Controlled Model Review)History and Info:
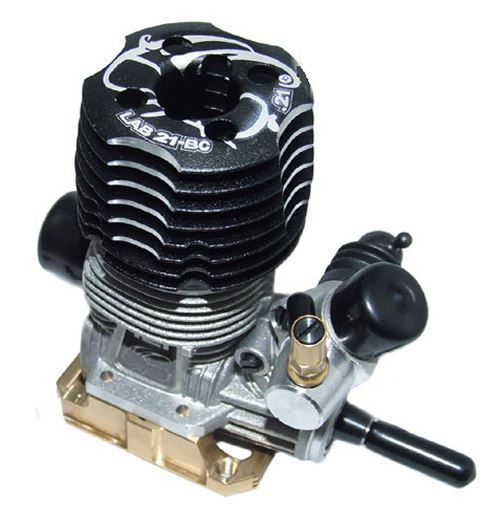
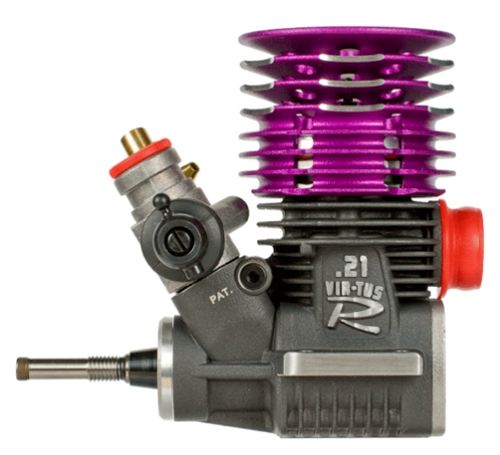
Introduced by Capricorn RC circa 2012, the LAB-C801-CE Collari Edition Nitro Touring Car Chassis came with a number of improved parts and "Engine Included" versions were also available as assembly Kits. The Engines that came with the kits were, the Capricorn LAB 21 BC, Novarossi Virtus 21 and later the Picco 21 EdoMod X-Type. Each kit required a Radio System, Servos, Engine, Starter Box, Fuel and a Lexan bodyshell to be purchased separately.
▼ Scroll Down for More Images ▼
|


|
|
|
|
★ Capricorn LAB C801-CE Collari Edition Chassis ★
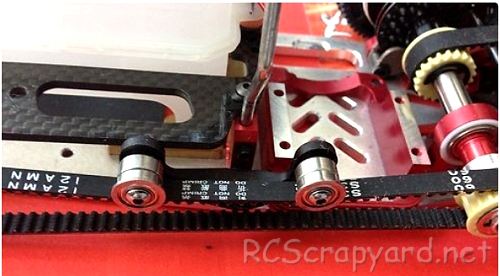
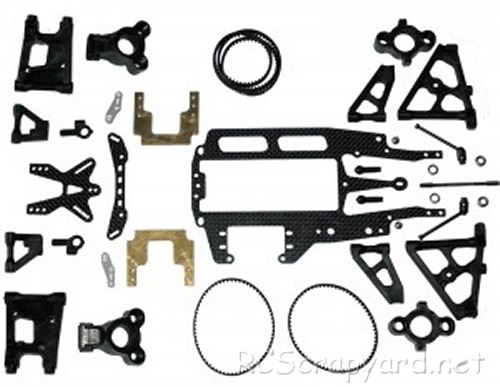
★ Capricorn LAB C801-CE Collari Edition Chassis ★
★ Capricorn LAB C801-CE Collari Edition Chassis ★
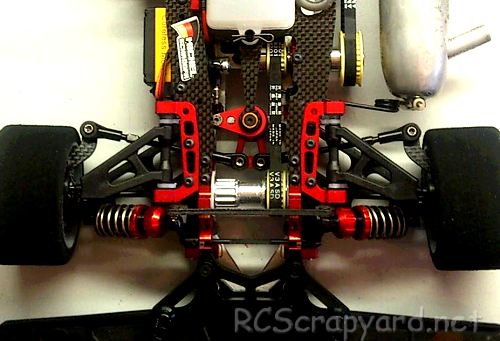
★ Capricorn LAB C801-CE Collari Edition ★
★ Capricorn LAB 21-BC Engine ★
★ Novarossi Virtus 21 Engine ★
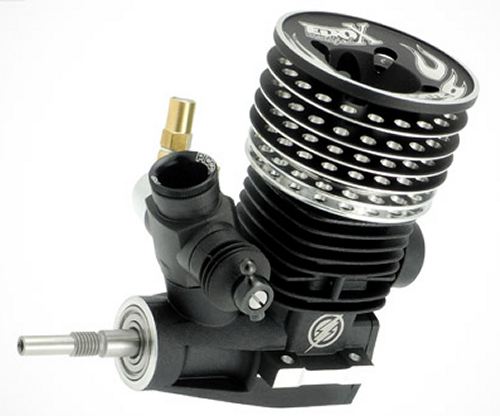
★ Picco-21 EdoMod X-Type Engine ★
★ Capricorn LAB C801-CE Collari Edition Chassis ★
|
Buying a Used Capricorn LAB C801-CE Collari Edition
|
|
Manufacturers and Brands Catalogued and Listed by RC-Scrapyard.
At present, the RC Model Manufacturers, Brands and Distributors covered by us are: ABC Hobby, Academy, Acme Racing, Agama Racing, Amewi, Ansmann Racing, ARRMA, Team Associated, Atomic RC, Axial, AYK, Bolink, BSD Racing, Capricorn, Carisma, Carson, Caster Racing, Cen, Corally, Custom Works, Durango, Duratrax, ECX - Electrix, Exceed RC, FG Modellsport, FS-Racing, FTX, Fujimi, Gmade, GS-Racing, Harm, HBX, Helion, Heng Long, Himoto Racing, Hirobo, Hitari, Hobao, Hong-Nor, Hot Bodies, HPI, HSP, Intech, Integy, Jamara, JQ Products, Kawada, Kyosho, Losi, LRP, Maisto, Mardave, Marui, Maverick, MCD Racing, Megatech, Mugen, New Bright, Nichimo, Nikko, Nkok, Ofna, Pro-Pulse, Protech, PTI, RC4WD, Redcat Racing, RJ-Speed, Robitronic, Schumacher, Seben, Serpent, Smartech, Sportwerks, Step-Up, Tamiya, Team-C Racing, Team Magic, Thunder Tiger, Tomy, Top Racing, Traxxas, Trinity, Tyco, Vaterra RC, Venom, VRX Racing, WLToys, X-Factory, Xmods, Xpress, Xray, XTM, Yankee RC, Yokomo, ZD Racing and Zipzaps. |
|
Hints, Tips and Information How to Charge Rechargeable Batteries for Peak PerformanceNi-Cad (Nickel Cadmium) Batteries
1/ All Ni-Cad Batteries have to be Discharged soon after use. This is to avoid the dreaded "Memory" effect that on subsequent re-charges can cause a momentary drop in performance during a race. A simple discharger can be made from a car 12v bulb.
Ni-Mh (Nickel Metal Hydride) Batteries
1/ Never charge Ni-Mh batteries at a current higher than 4.5 amps. Although these batteries can give a higher voltage than Ni-Cad Batteries, they are much more sensitive and easy to damage if charged too quickly. |
|
Hints, Tips and Information
How to put on Decals
After spending lots of time and effort to paint your bodyshell, you come to the point where you make it look good by putting on all those flashy decals, but before you rush in with the scissors and start cutting, there are a few things you should do first. |
|
RC Models:
|
Radio & Motors: |
Other
Accessories: |