|
|
|
|
|


|
|
1/8 Scale Nitro Buggy:
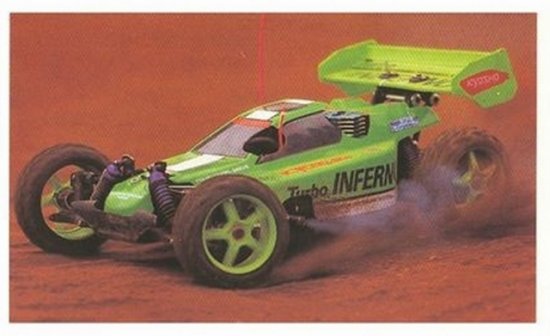
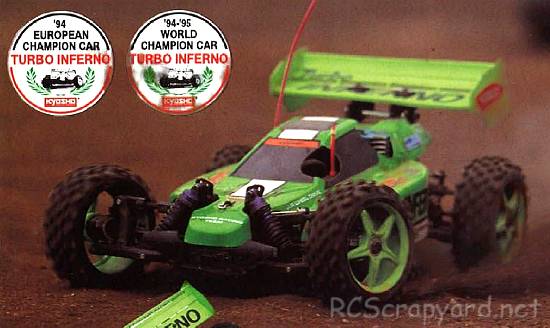
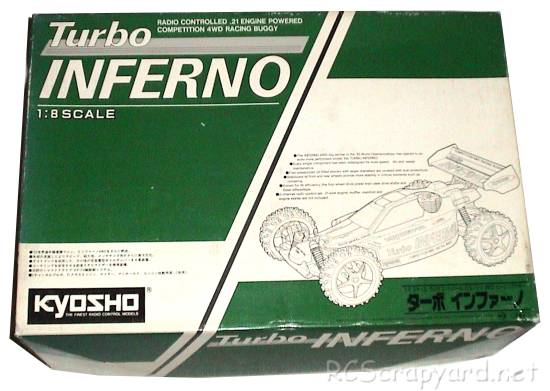
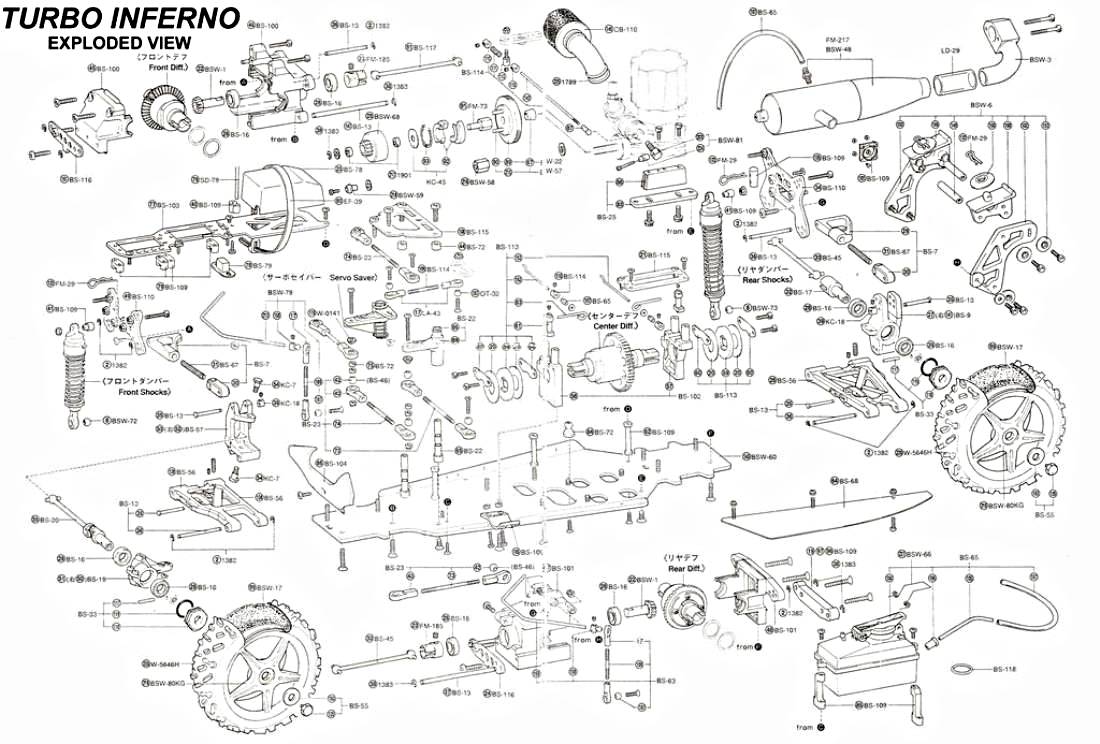
Kyosho Turbo Inferno - 31346 - Radio Controlled ModelHistory and Info:
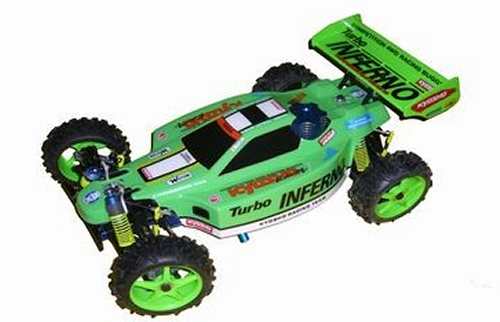
Released by Kyosho in 1993, the 4WD Turbo Inferno - # 31346 - is an upgraded version of the 1992 IFMAR winning Inferno 4WD, and went on to win the 1994 IFMAR championships, driven by Italian driver Maurizio Monesi.
▼ Scroll Down for More Images ▼
|


|
|
|
|
★ Kyosho Turbo Inferno - 31346 ★
★ Kyosho Turbo Inferno - 31346 ★
★ Kyosho Turbo Inferno - 31346 ★
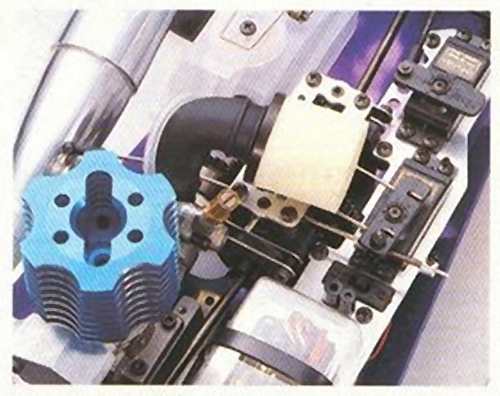
★ Kyosho Turbo Inferno - 31346 - Chassis ★
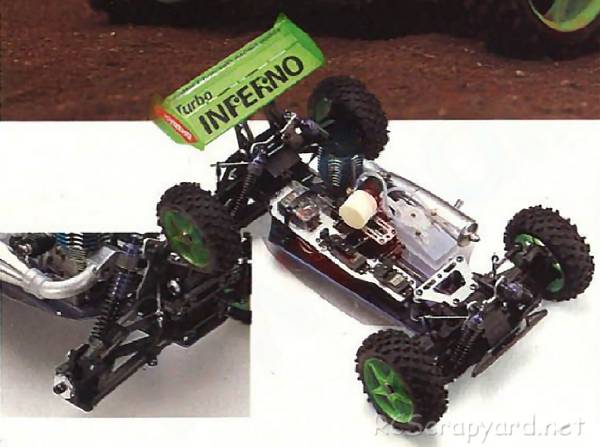
★ Kyosho Turbo Inferno - 31346 - Chassis ★
★ Kyosho Turbo Inferno - 31346 - Chassis ★
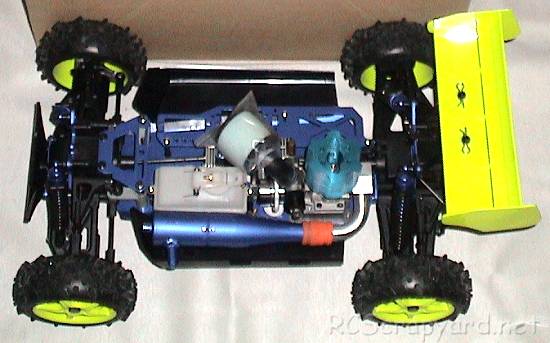
★ Kyosho Turbo Inferno - 31346 - Chassis ★
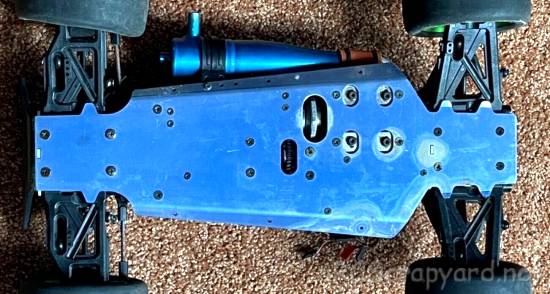
★ Kyosho Turbo Inferno - 31346 - Chassis ★
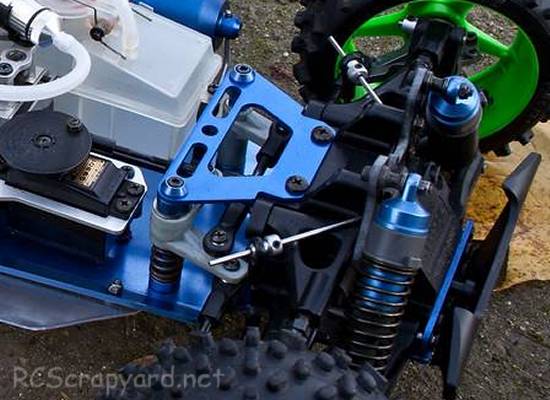
★ Kyosho Turbo Inferno - 31346 - Chassis ★
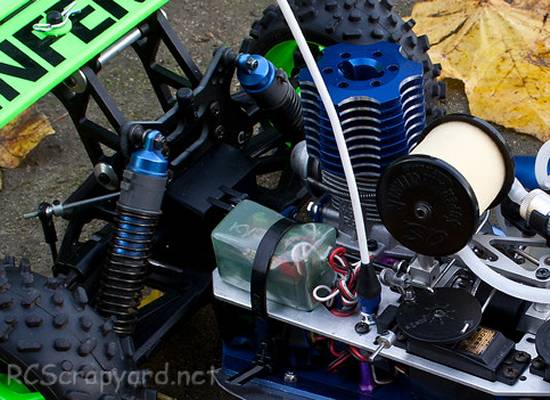
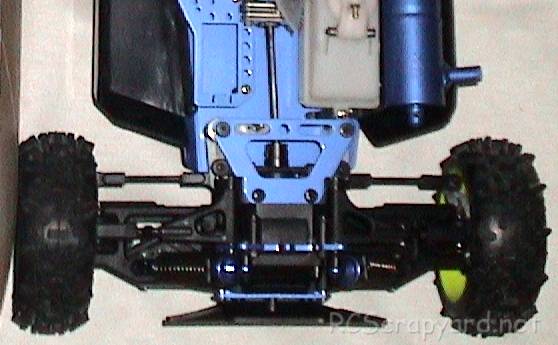
★ Kyosho Turbo Inferno - 31346 - Chassis ★
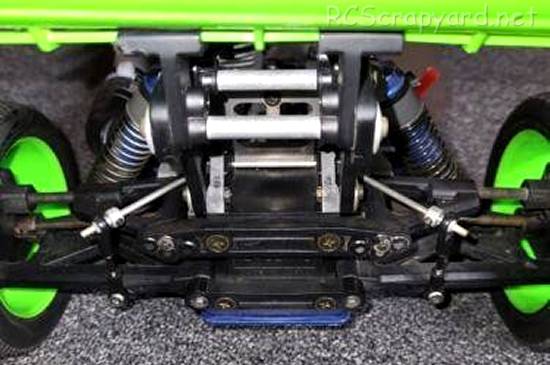
★ Kyosho Turbo Inferno - 31346 - Chassis ★
★ Kyosho Turbo Inferno - 31346 - Chassis ★
|
Buying a Used Kyosho Turbo Inferno Buggy (and What to look for)
Make a General Visual Inspection
Check the Body-Shell
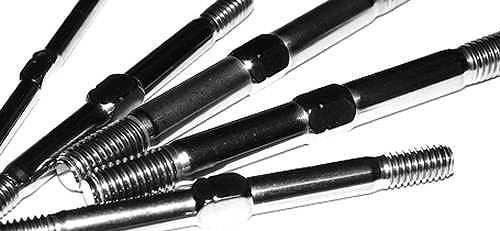
If the body shell of your Kyosho Turbo Inferno is broken, ripped or damaged in any way, this can be easily repaired with rubber solution glue. Also, for added protection and if available for your Turbo Inferno model, fit an under guard to stop dirt and gravel entering the chassis. Drive Shafts and Turnbuckles
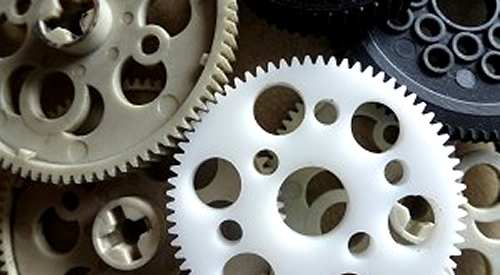
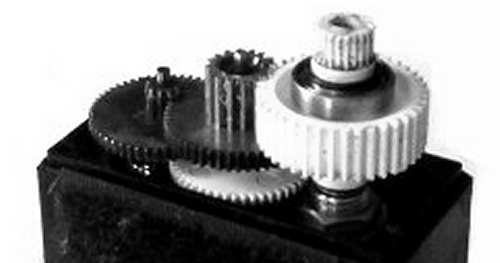
Examine the Drive System
The gearbox of your used Buggy should be opened up to check for gear wear and lubrication. A thin coat of grease is often used on internal gears and although this is fine for basic running around on the back yard, if you intend to race your Buggy at a higher level, this should be removed and replaced with racing oil (ZX1 or Teflon Oil). Of course, this should be reapplied after each race meeting. Pinions and Spur Gears
Don't Neglect the Ball-Joints
Ball joints always cause problems. For top level Nitro Buggy racing, the plastic ball connectors should be checked and if deemed necessary changed after every meeting. A simple thing like a loose fitting connector popping off could easily end your race, so better safe than sorry. Steering Servo and Servo-Saver
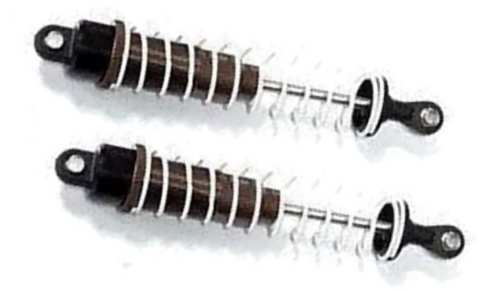
Stabilizers
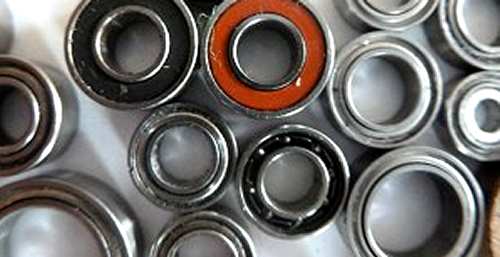
If body roll on your Kyosho Turbo Inferno is a problem, handling can be improved with the use of stabilizers, anti roll or sway bars, stiffer tuning springs and, or, thicker silicone oil in the dampers. Don't Forget those Bearings
▼ Scroll Down for More Articles and Advice ▼
Or, check out our RC Model Car Setup Guide
|
|
Manufacturers and Brands Catalogued, Listed and Reviewed by RC-Scrapyard.
At present, the RC Model Manufacturers, Brands and Distributors covered by us are: ABC Hobby, Academy, Acme Racing, Agama Racing, Amewi, Ansmann Racing, ARRMA, Team Associated, Atomic RC, Axial, AYK, Bolink, BSD Racing, Capricorn, Carisma, Carson, Caster Racing, Cen, Corally, Custom Works, Durango, Duratrax, ECX - Electrix, Exceed RC, FG Modellsport, FS-Racing, FTX, Fujimi, Gmade, GS-Racing, Harm, HBX, Helion, Heng Long, Himoto Racing, Hirobo, Hitari, Hobao, Hong-Nor, Hot Bodies, HPI, HSP, Intech, Integy, Jamara, JQ Products, Kawada, Kyosho, Losi, LRP, Maisto, Mardave, Marui, Maverick, MCD Racing, Megatech, Mugen, New Bright, Nichimo, Nikko, Nkok, Ofna, Pro-Pulse, Protech, PTI, RC4WD, Redcat Racing, RJ-Speed, Robitronic, Schumacher, Seben, Serpent, Smartech, Sportwerks, Step-Up, Tamiya, Team-C Racing, Team Magic, Thunder Tiger, Tomy, Top Racing, Traxxas, Trinity, Tyco, Vaterra RC, Venom, VRX Racing, WLToys, X-Factory, Xmods, Xpress, Xray, XTM, Yankee RC, Yokomo, ZD Racing and Zipzaps. |
|
Hints, Tips and Information
Tire Compounds
Way back in the early 1990s when I first got into RC, most of the off-road models available came with chunky hard compound block tires that gave little or no grip on grass or dirt tracks. On-road didn't have this problem as they were still using sponge tires that with a coating of wintergreen based tire additive before each race to improve grip. There was even one guy who swore, before every race, he dipped his wheels in a glass of light ale. |
|
Hints, Tips and Information
Battery Connectors
Over the years I have been racing radio controlled model cars of all descriptions, I have tried a number of different connectors for my batteries.
|
|
RC Models:
|
Radio & Motors: |
Other
Accessories: |