Radio Controlled Models
Share RCScrapyard on Facebook
RCScrapyard Radio Controlled Models
Flags
RCScrapyard.net contains Google AdSense Ads and Amazon Affiliate links, from which we may earn commission. See our Disclosure page for more information.
bar

Tamiya German Tiger I Early Production - RTR - 23686 (Radio Controlled Model Review)

1/16 Scale Electric Tank -

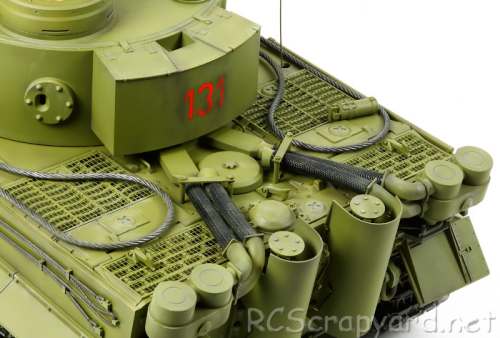
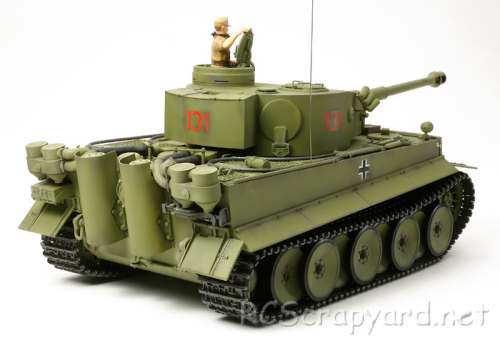
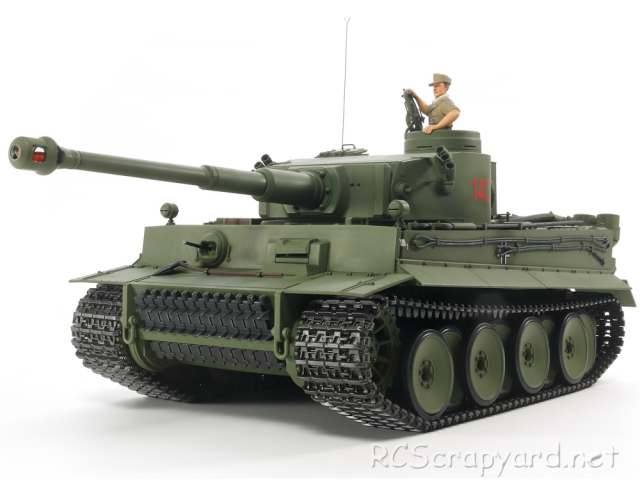
  Released by Tamiya on June 1, 2012, the German Tiger I Early Production (# 23686) is the Factory Finished, Limited Edition RTR version.

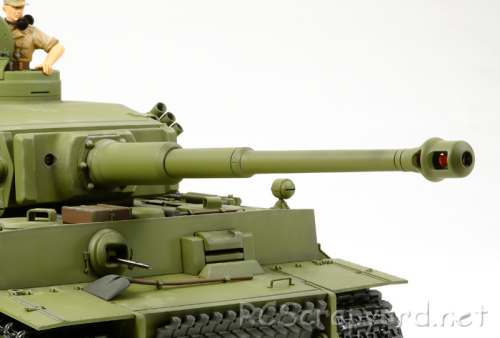
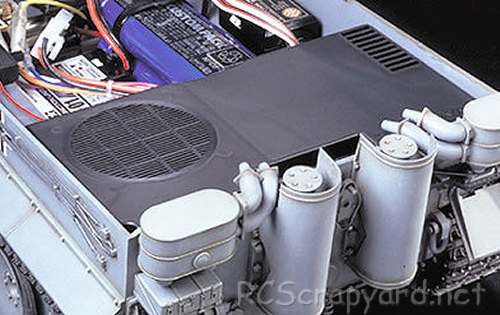
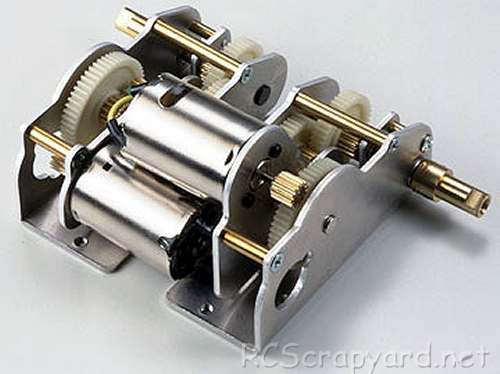
  The front-mounted gearbox contains two Type 380 motors that can operate together or individually to produce forward/reverse running and pivot turning. Metal torsion bars and suspension arms combine with the wide tracks to smoothly absorb bumps and dips in the terrain and provide high manoeuvrability. In addition, realistic engine sounds accompany the tank as it starts up, drives and stops to idle. The main gun can be elevated, depressed and swung to the left and right.

Tamiya Tiger 1 - # 23686

▼ Scroll Down for More Images ▼


  First deployed in 1942 in Africa and Europe, the Tiger 1 was usually in independent heavy tank battalions. Its final designation was Panzerkampfwagen VI Tiger Ausf. E often shortened to Tiger. The Tiger I gave the Wehrmacht its first armoured fighting vehicle that mounted the 8.8 cm KwK 36 gun (not to be confused with the 8.8 cm Flak 36). 1,347 were built between August 1942 and August 1944.[9] After August 1944, production of the Tiger I was phased out in favour of the Tiger II.

  This model comes with metal bushings, that after a short while, when dust and grit get into them, can actually wear into the metal drive shafts that spin in them - we recommend these should be replaced by a full set of steel shielded ball bearings ASAP.


Rating: 44 Stars out of 5 RCScrapyard


Gas/Nitro Engines Body Shells Radio Transmitters etc Tires Wheels/Rims Electronic Speed Controllers Battery Packs / Chargers Electric Motors


Flags


Tamiya Tiger 1
Tamiya Tiger 1
Tamiya Tiger 1
Tamiya Tiger 1
Tamiya Tiger 1
Tamiya Tiger 1
Tamiya Tiger 1
Tamiya Tiger 1
Tamiya Tiger 1
Tamiya Tiger 1
Tamiya Tiger 1
Tamiya Tiger 1

Hints, Tips and Information

How to avoid Radio Interference

1/  The first consideration when installing your Receiver into your Electrically Powered Model is to make sure it is well away from the Negative Battery terminal, and the Motor. The Magnetic field can cause stuttering type interference at times of high current draw (i.e., Fast Acceleration)

2/  Make sure the Ariel tube is long enough for the Ariel wire. The tip of this wire is highly sensitive and should be as high, and as far away from the Motor as possible (yup, its that magnetic field prob again)

3/  If all else fails, a simple tip that often works for all RC Model enthusiasts is to wrap the receiver in Aluminium Foil, to shield against any magnetic and external radio interference.

Read the Complete Article  ▶ ▶


Tamiya Buggys Tamiya Trucks Tamiya Monster Trucks Tamiya Rock Crawlers Tamiya Off Road Chassis Types Tamiya Touring Car Tamiya Drift Car Tamiya WRC Car Tamiya M Chassis
Tamiya Tractor Trucks Tamiya Touring Car Chassis Tamiya F1 Tamiya F1/Le Mans Chassis Types Tamiya Military Tamiya Tanks


Hints, Tips and Information

Getting into RC

   When I first got into racing RC, all I had was a three year old clapped out Tamiya Boomerang, a silver can stock motor, three step mechanical speed controller, two 1400Mah stick batteries and basic Acoms stick transmitter.

   I was the newbie and most of the guys I was racing against had all the latest models, modified motors, matched batteries and top spec radio equipment, but I was still beating them easily. Why? The answer is simple:

Read the Complete Article  ▶ ▶


Hints, Tips and Information

Painting a Lexan Body Shell.

   Most RC Model kits come with an unpainted, clear Lexan plastic Body Shell you yourself must prepare and paint. This type of Body Shell is painted on the inside, and special spray or brush on Polycarbonate Paints MUST be used.

   The beauty of this is you can go wild and show off your artistic ability, or simply choose your favourite colour, and add some choice decals later.

   This article is for those who have never done this kind of thing before, and need some basic guidance.


   Firstly, cut off the waste from the body shell with sharp scissors. If required finish off the rounded wheel arches with smooth sandpaper wrapped around a drinks can.

   Any holes for body posts must also be drilled before painting. Place the clear body shell over the model and adjust the posts so the shell is in the desired position. Where the posts touch the shell make a small dot with a marker pen.
Next, pierce small holes in the shell where the dots are from the inside. Place the shell on an old piece of wood and drill the post holes, again, from the inside.

Read the Complete Article  ▶ ▶


^ TOP ^

RC Models:
Radio
& Motors:
Other
Accessories: