

|
|
|

|


|
Tamiya Russian Heavy Tank JS-2 1944 ChKZ - Full Option Kit Complete - 56034
|
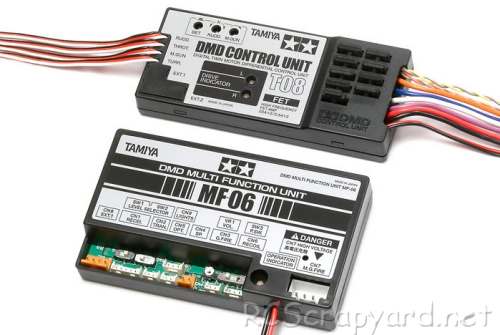
Released by Tamiya on February 13, 2013, the Russian Heavy Tank JS-2 1944 ChKZ (#56034) is the Complete Full Option Kit version, with a battery, charger and 4-channel radio system included.
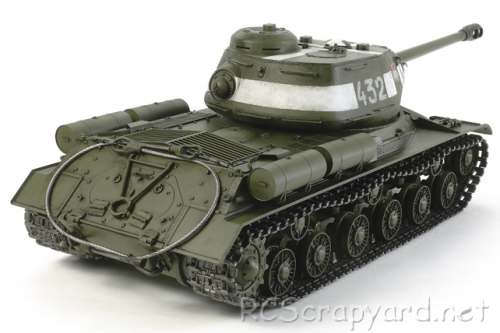
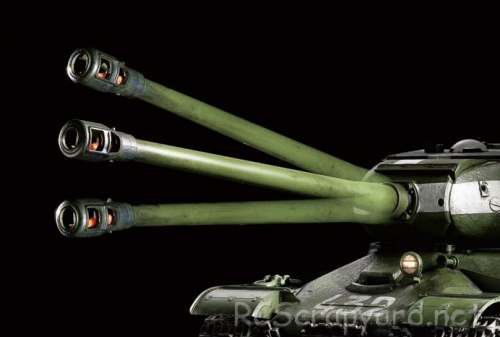
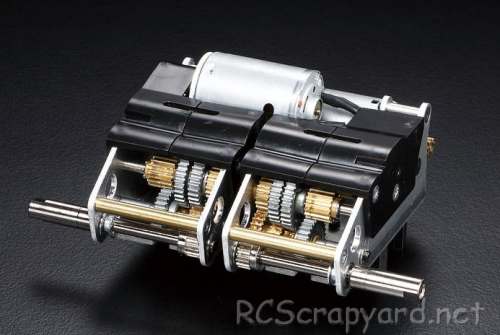
A front-mounted double gearbox, with two electric motors, operate together or individually to produce forward/reverse running and pivot turning. Metal torsion bars and suspension arms combine with the wide tracks to smoothly absorb bumps and dips in the terrain and provide high manoeuvrability. In addition, realistic engine sounds accompany the tank as it starts up, drives and stops to idle. The main gun can be elevated, depressed and swung to the left and right.
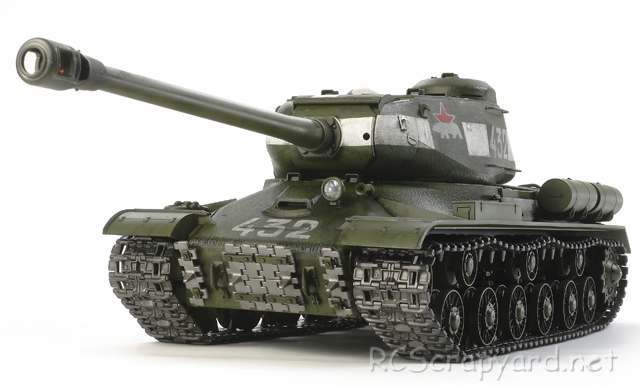
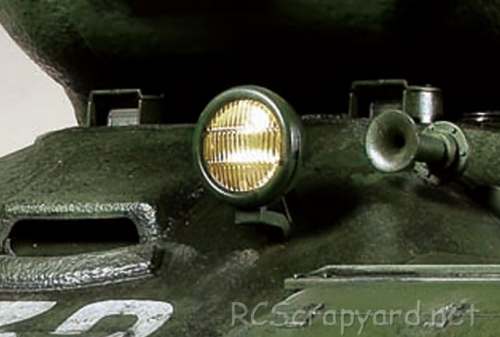
The Russian Heavy Tank JS-2 was developed to overthrow the German Tiger I. The JS-2 was put into production in the latter half of WWII in December 1943 and had a long, powerful 122mm gun as well as superior mobility. From August 1944, modifications, including the removal of the hatch from the frontal armor, were carried out to achieve greater defensive ability. The JS-2 produced in the Chelyabinsk Kirov factory (ChKZ) had a distinctive one-piece cast rounded front section. The JS-2 showed great strength in the frontlines but also in anti-tank battles and it greatly contributed to the victory at the end of the Great War.
This model comes with metal bushings, that after a short while, when dust and grit get into them, can actually wear into the metal drive shafts that spin in them - we recommend these should be replaced by a full set of steel shielded ball bearings ASAP.


|
|
|
|
|

|
Hints, Tips and Information
How to avoid Radio Interference
1/ The first consideration when installing your Receiver into your Electrically Powered Model is to make sure it is well away from the Negative Battery terminal, and the Motor. The Magnetic field can cause stuttering type interference at times of high current draw (i.e., Fast Acceleration) |


|


|
|
|
|
Hints, Tips and Information
Choosing a Transmitter
When you first started in RC, you may have purchased a package that came with the car kit, motor, battery, charger, ESC and radio system complete. The transmitter was probably just a basic steer wheel, or stick type, with nothing more than forward, reverse, left, right and simple trim settings to centralise the servo and ESC. |
|
Hints, Tips and Information
Ride Height
To allow the suspension on any RC model to do its work properly, it needs to ride in a position where it is able to react to any bumps and holes it may encounter on the track. Therefore, it needs to be adjusted to somewhere in-between those limits. That position is commonly termed "ground clearance" or "ride height" and is generally measured as the distance between the underside of the chassis and the ground, with the motor and battery etc installed. |
|
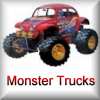
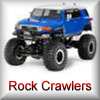
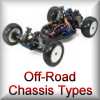
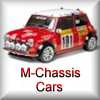
RC Models:
|
Radio & Motors: |
Other
Accessories: |