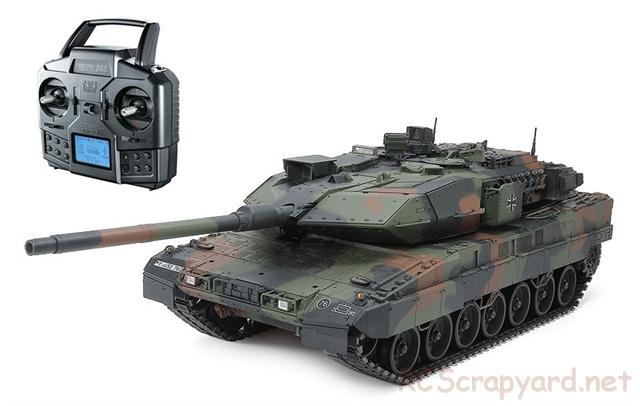
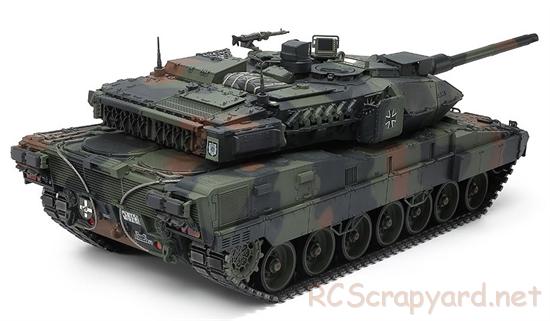
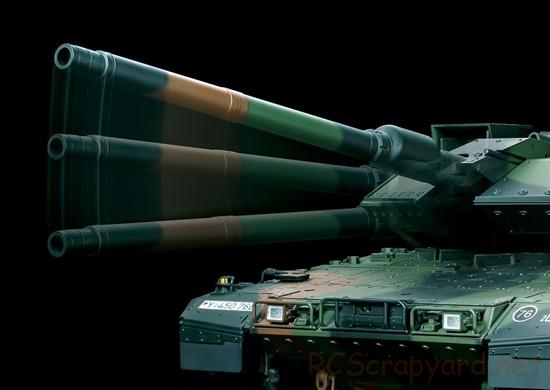
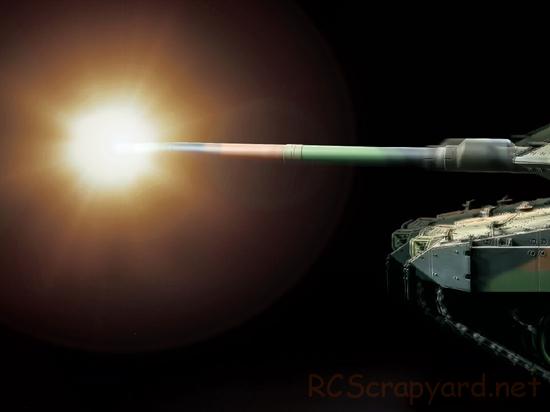
Tamiya German Leopard 2 A7V
Tamiya German Leopard 2 A7V
Tamiya German Leopard 2 A7V
Tamiya German Leopard 2 A7V
Tamiya German Leopard 2 A7V
Tamiya German Leopard 2 A7V
Tamiya German Leopard 2 A7V
Tamiya German Leopard 2 A7V
Tamiya German Leopard 2 A7V
Tamiya German Leopard 2 A7V
Tamiya German Leopard 2 A7V
Tamiya German Leopard 2 A7V

Tamiya German Leopard 2 A7V
Tamiya German Leopard 2 A7V
Tamiya German Leopard 2 A7V
Tamiya German Leopard 2 A7V
|
Hints, Tips and Information
How to avoid Radio Interference
1/ The first consideration when installing your Receiver into your Electrically Powered Model is to make sure it is well away from the Negative Battery terminal, and the Motor. The Magnetic field can cause stuttering type interference at times of high current draw (i.e., Fast Acceleration)
2/ Make sure the Ariel tube is long enough for the Ariel wire. The tip of this wire is highly sensitive and should be as high, and as far away from the Motor as possible (yup, its that magnetic field prob again)
3/ If all else fails, a simple tip that often works for all RC Model enthusiasts is to wrap the receiver in Aluminium Foil, to shield against any magnetic and external radio interference.
Read the Complete Article ▶ ▶
|