|
|
|
|
|


|
|
1/10 Scale Electric SCT:
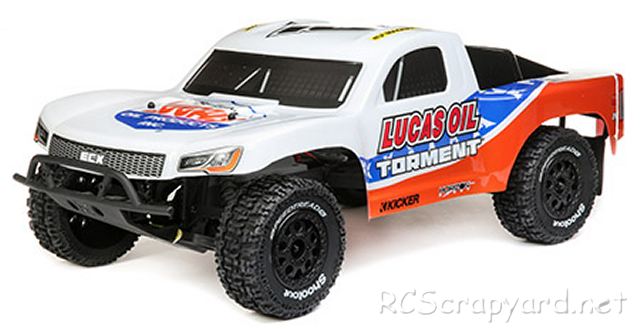
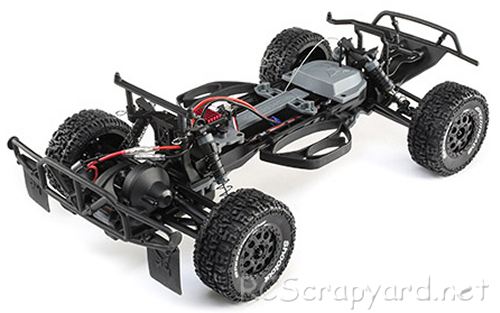
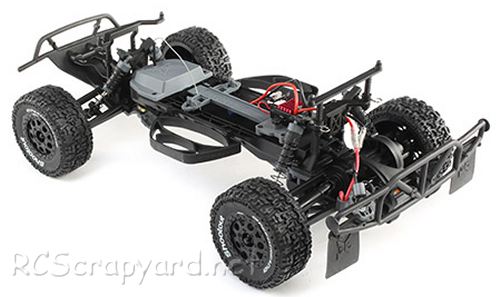
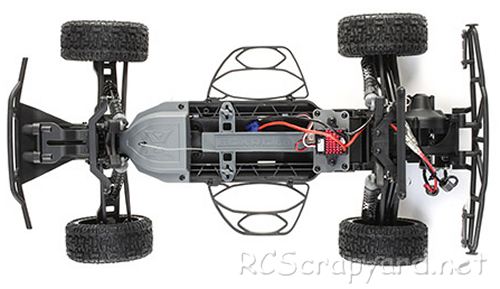
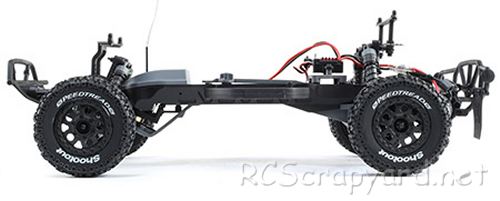
ECX Torment 2WD - ECX03433T2
|
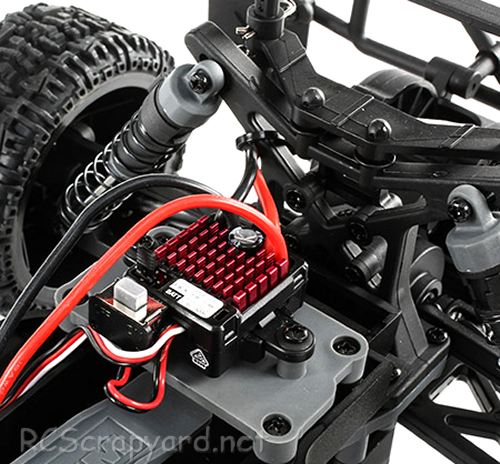
Introduced by ECX Electrix circa 2018, the Torment 2WD Short Course Truck - ECX03433T2 - came RTR with a 540 Dynamite 15T Brushed Motor, Dynamite Waterproof Tazer 15T ESC, 2.4Ghz Radio System and a Pre-Painted Lucas Oil livery Bodyshell. Battery and Charger purchased separately (Specifications may vary from country to country).
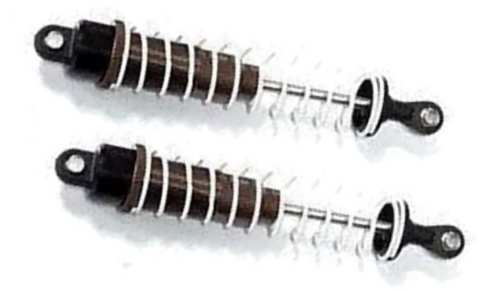
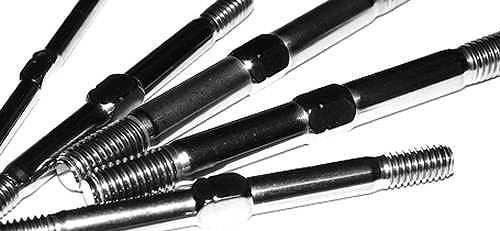
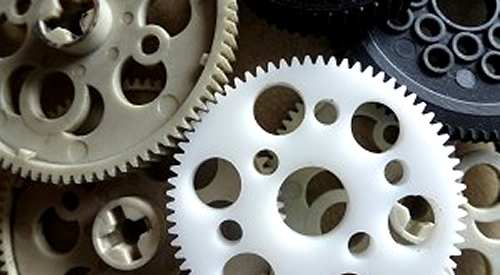
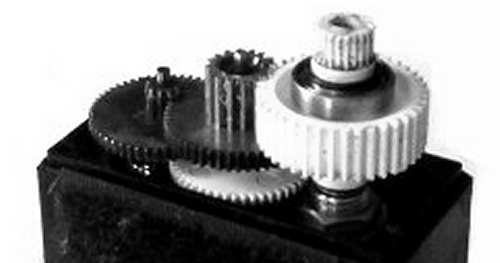
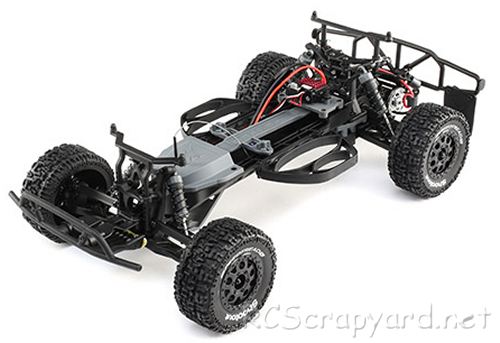
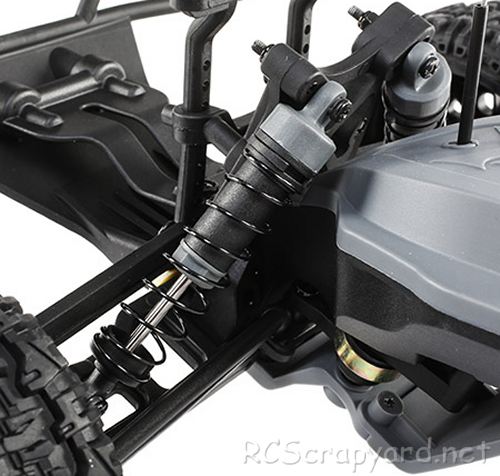
The 2WD model is based on a molded nylon composite chassis, with a gear type differential, coil spring over oil filled dampers, plastic telescopic universal joint drive-shafts, slipper clutch and a full set of ball bearings.
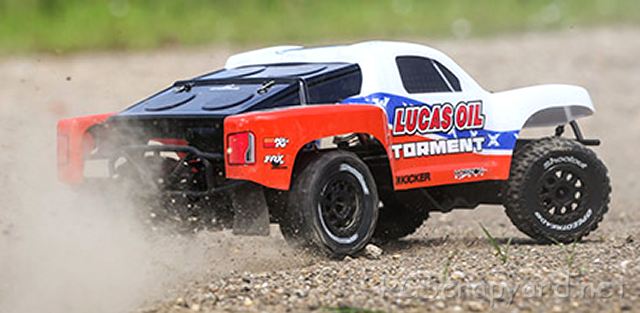
To get the best from the ECX Torment, it needs to be fine tuned, to provide precise steering response and improve grip when cornering, so you don't slide off the track. Small changes can make huge advancements and our easy to understand guide will help you to the optimum Set-up for your individual driving style.


|
|
|
|
★ ECX Torment 2WD - ECX03433T2 ★
★ ECX Torment 2WD - ECX03433T2 Chassis ★
★ ECX Torment 2WD - ECX03433T2 Chassis ★
★ ECX Torment 2WD - ECX03433T2 Chassis ★
★ ECX Torment 2WD - ECX03433T2 Chassis ★
★ ECX Torment 2WD - ECX03433T2 Chassis ★
★ ECX Torment 2WD - ECX03433T2 Chassis ★
★ ECX Torment 2WD - ECX03433T2 Chassis ★
|
Buying a Used ECX Torment
|
|
Manufacturers and Brands Catalogued and Listed by RC-Scrapyard.
At present, the RC Model Manufacturers, Brands and Distributors covered by us are: ABC Hobby, Academy, Acme Racing, Agama Racing, Amewi, Ansmann Racing, ARRMA, Team Associated, Atomic RC, Axial, AYK, Bolink, BSD Racing, Capricorn, Carisma, Carson, Caster Racing, Cen, Corally, Custom Works, Durango, Duratrax, ECX - Electrix, Exceed RC, FG Modellsport, FS-Racing, FTX, Fujimi, Gmade, GS-Racing, Harm, HBX, Helion, Heng Long, Himoto Racing, Hirobo, Hitari, Hobao, Hong-Nor, Hot Bodies, HPI, HSP, Intech, Integy, Jamara, JQ Products, Kawada, Kyosho, Losi, LRP, Maisto, Mardave, Marui, Maverick, MCD Racing, Megatech, Mugen, New Bright, Nichimo, Nikko, Nkok, Ofna, Pro-Pulse, Protech, PTI, RC2WD, Redcat Racing, RJ-Speed, Robitronic, Schumacher, Seben, Serpent, Smartech, Sportwerks, Step-Up, Tamiya, Team-C Racing, Team Magic, Thunder Tiger, Tomy, Top Racing, Traxxas, Trinity, Tyco, Vaterra RC, Venom, VRX Racing, WLToys, X-Factory, Xmods, Xpress, Xray, XTM, Yankee RC, Yokomo, ZD Racing and Zipzaps. |
Information and AdviceElectronic Speed ControllersHistory
ESC were originally developed to be used in conjunction with brushed 27T stock and modified motors in the late 1970s, early 1980s. Compared to modern day Controllers, they were Bulky and heavy, constructed using basic resistors, rheostats, capacitors and transistors, crammed together on a simple circuit board, to provide stepped but smooth acceleration when compared to the old mechanical, servo operated sweeper Speed Controllers. An Electronic Switch to change the direction of current flow was used on some of these early ESC to give reverse operation. Although they were a vast improvement on the old mechanical speedos of the time, they were expensive, jerky to control, and prone to burn out if not carefully looked after. |
|
Hints, Tips and Information
The Importance of Balancing your Model Car Wheels
The day I passed my driving test at the young age of 17, the first thing I did was to drive over to my girlfriends house and take her out to a long straight stretch of road close by, where the boy racers would often congregate. No one was around that day, so the road was relatively quiet. I slowly went through the gears and we were soon up to 65 with no problems, but as we got closer to 70, my hands began to sense a small vibration on the steering wheel. By the time we hit 75, the steering wheel and the whole car was vibrating wildly. My girlfriend was hysterical, screaming for me to "slow down!" I did of course and tried to calm her down. How I Balanced my Model Car Wheels
Wheel balancing equipment for RC cars is now available on line and from most RC model shops, but back then I had to make my own using the rear end of an old Tamiya F1 car. |
|
RC Models:
|
Radio & Motors: |
Other
Accessories: |