|
|
|
|
|


|
|
1/10 Scale Electric Dirt Oval Car:
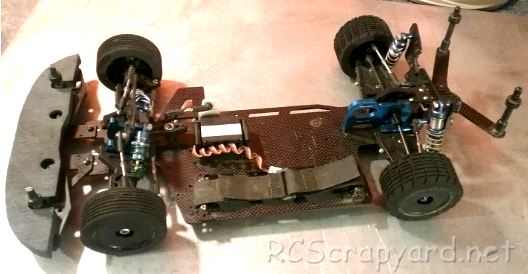
Custom Works Intimidator G6 (Radio Controlled Model Review)History and Info:
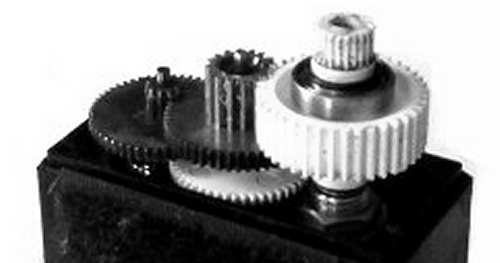
Introduced by Custom Works circa 2015, the Intimidator G6 Electric Dirt Oval Car, was introduced in two kit options: Intimidator G6 DD, Direct Drive version - # 0916 and a less popular Intimidator G6 Gearbox version - # 0915. Both versions share a number of their parts with the Enforcer G6. A Radio System, Motor, ESC, Battery, Charger Steering Servo, Wheels, Tires and a bodyshell had to be purchased separately.
▼ Scroll Down for More Images ▼
|


|
|
|
|
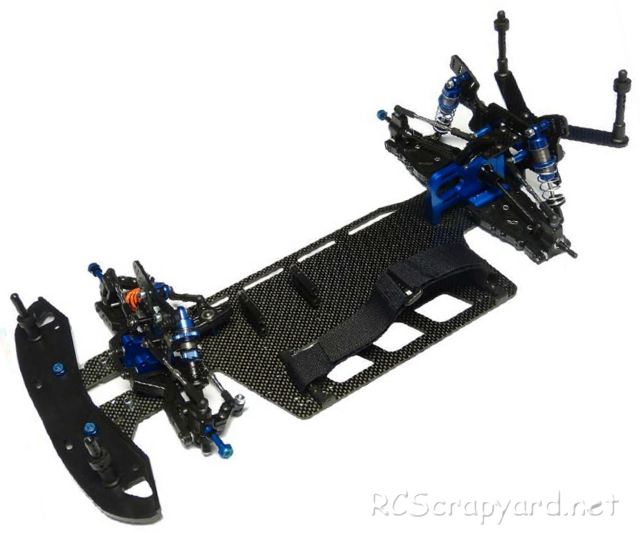
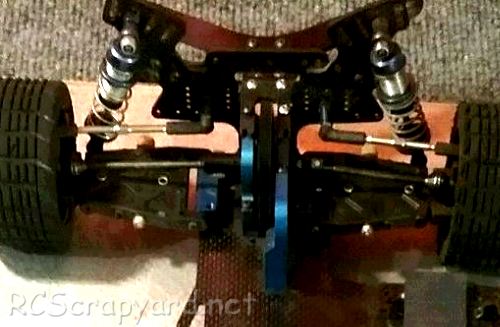
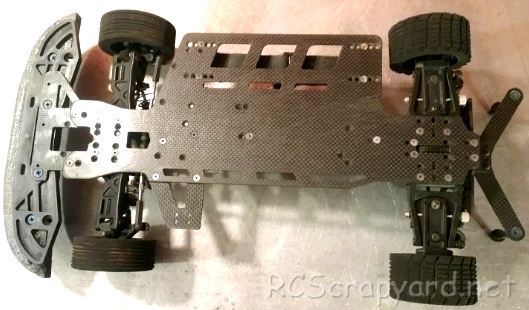
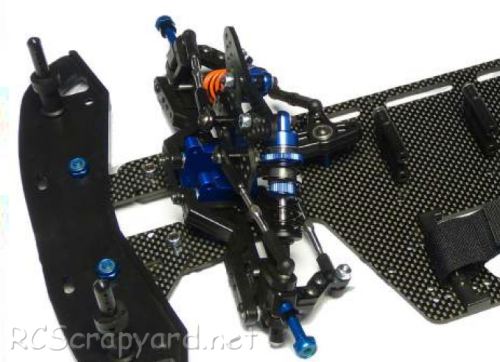
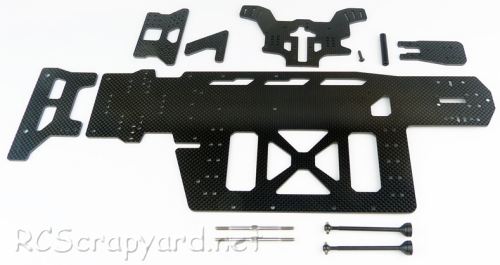
★ Custom Works Intimidator G6 - 0916 Chassis ★
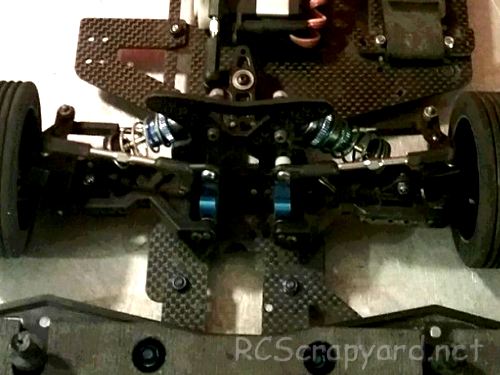
★ Custom Works Intimidator G6 - 0916 Chassis ★
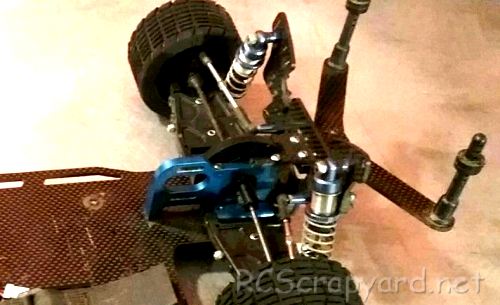
★ Custom Works Intimidator G6 - 0916 Chassis ★
★ Custom Works Intimidator G6 - 0916 Chassis ★
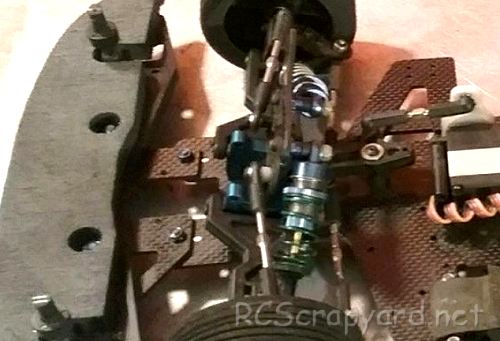
★ Custom Works Intimidator G6 - 0916 Chassis ★
★ Custom Works Intimidator G6 - 0916 Chassis ★
★ Custom Works Intimidator G6 - 0916 Chassis ★
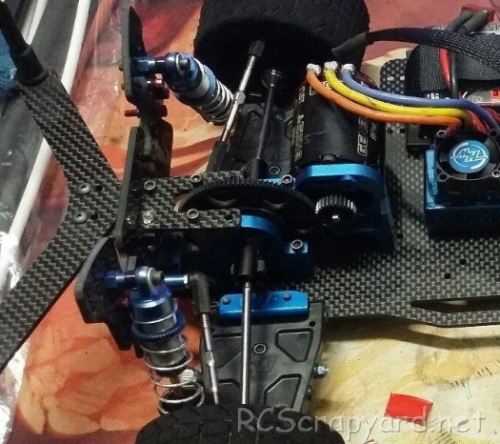
★ Custom Works Intimidator G6 - 0916 Chassis ★
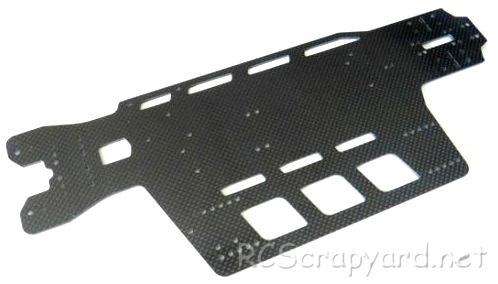
★ Custom Works Intimidator G6 - 0916 Chassis ★
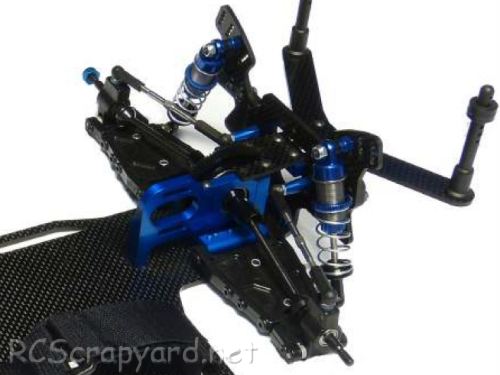
★ Custom Works Intimidator G6 - 0916 Chassis ★
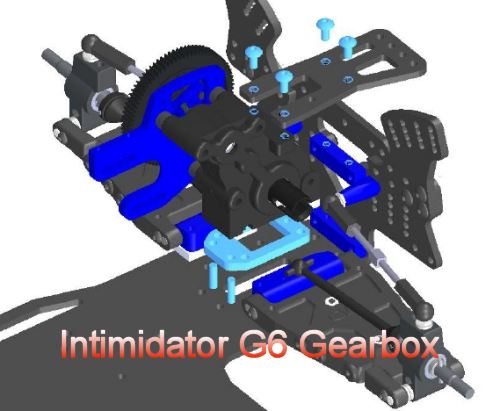
★ Custom Works Intimidator G6 Gearbox - 0915 Chassis ★
★ Custom Works Intimidator G6 to 7 - Conversion Kit ★
|
Buying a Used Custom Works Intimidator G6
|
|
Manufacturers and Brands Catalogued and Listed by RC-Scrapyard.
At present, the RC Model Manufacturers, Brands and Distributors covered by us are: ABC Hobby, Academy, Acme Racing, Agama Racing, Amewi, Ansmann Racing, ARRMA, Team Associated, Atomic RC, Axial, AYK, Bolink, BSD Racing, Capricorn, Carisma, Carson, Caster Racing, Cen, Corally, Custom Works, Durango, Duratrax, ECX - Electrix, Exceed RC, FG Modellsport, FS-Racing, FTX, Fujimi, Gmade, GS-Racing, Harm, HBX, Helion, Heng Long, Himoto Racing, Hirobo, Hitari, Hobao, Hong-Nor, Hot Bodies, HPI, HSP, Intech, Integy, Jamara, JQ Products, Kawada, Kyosho, Losi, LRP, Maisto, Mardave, Marui, Maverick, MCD Racing, Megatech, Mugen, New Bright, Nichimo, Nikko, Nkok, Ofna, Pro-Pulse, Protech, PTI, RC4WD, Redcat Racing, RJ-Speed, Robitronic, Schumacher, Seben, Serpent, Smartech, Sportwerks, Step-Up, Tamiya, Team-C Racing, Team Magic, Thunder Tiger, Tomy, Top Racing, Traxxas, Trinity, Tyco, Vaterra RC, Venom, VRX Racing, WLToys, X-Factory, Xmods, Xpress, Xray, XTM, Yankee RC, Yokomo, ZD Racing and Zipzaps. |
|
Hints, Tips and Information
Painting a Lexan Body Shell.
Most RC Model kits come with an unpainted, clear Lexan plastic Body Shell you yourself must prepare and paint. This type of Body Shell is painted on the inside, and special spray or brush on Polycarbonate Paints MUST be used.
|
|
Hints, Tips and Information
Getting into RC
When I first got into racing RC, all I had was a three year old clapped out Tamiya Boomerang, a silver can stock motor, three step mechanical speed controller, two 1400Mah stick batteries and basic Acoms stick transmitter. |
|
RC Models:
|
Radio & Motors: |
Other
Accessories: |