|
|
|
|
|


|
|
1/10 Scale Electric Rally/Touring Car:
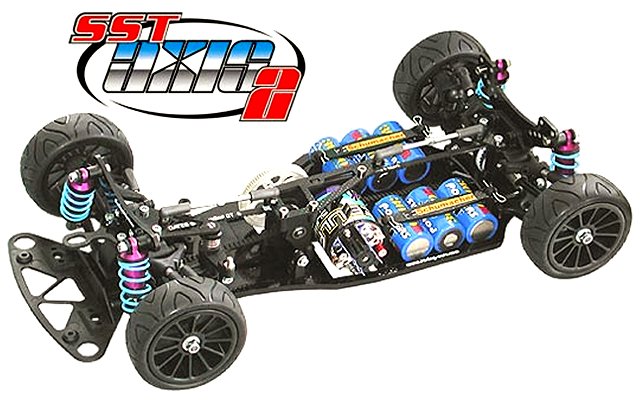
Schumacher Axis 2 - K025E - Radio Controlled ModelHistory and Info for the Schumacher Axis 2:
Following the success of the original SST Axis, Schumacher released the SST Axis 2 in September 2000.
▼ Scroll Down for More Images ▼
|
|
|


|
|
|
|
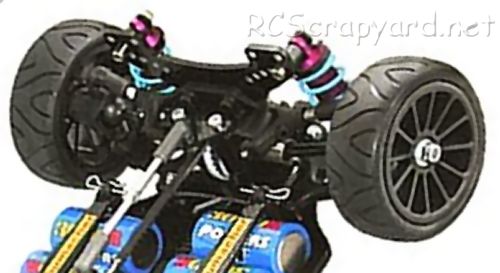
★ Schumacher Axis2 ★
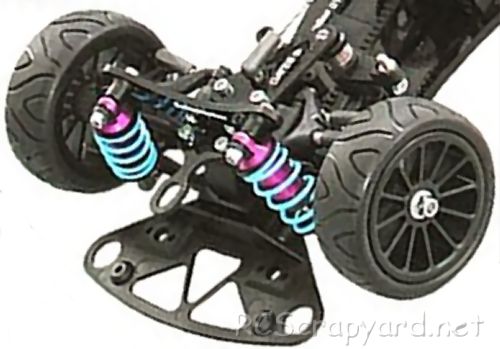
★ Schumacher Axis2 Chassis ★
|
Buying a Used Schumacher Axis 2
|
|
Manufacturers and Brands Catalogued, Listed and Reviewed by RC-Scrapyard.
At present, the RC Model Manufacturers, Brands and Distributors covered by us are: ABC Hobby, Academy, Acme Racing, Agama Racing, Amewi, Ansmann Racing, ARRMA, Team Associated, Atomic RC, Axial, AYK, Bolink, BSD Racing, Capricorn, Carisma, Carson, Caster Racing, Cen, Corally, Custom Works, Durango, Duratrax, ECX - Electrix, Exceed RC, FG Modellsport, FS-Racing, FTX, Fujimi, Gmade, GS-Racing, Harm, HBX, Helion, Heng Long, Himoto Racing, Hirobo, Hitari, Hobao, Hong-Nor, Hot Bodies, HPI, HSP, Intech, Integy, Jamara, JQ Products, Kawada, Kyosho, Losi, LRP, Maisto, Mardave, Marui, Maverick, MCD Racing, Megatech, Mugen, New Bright, Nichimo, Nikko, Nkok, Ofna, Pro-Pulse, Protech, PTI, RC4WD, Redcat Racing, RJ-Speed, Robitronic, Schumacher, Seben, Serpent, Smartech, Sportwerks, Step-Up, Tamiya, Team-C Racing, Team Magic, Thunder Tiger, Tomy, Top Racing, Traxxas, Trinity, Tyco, Vaterra RC, Venom, VRX Racing, WLToys, X-Factory, Xmods, Xpress, Xray, XTM, Yankee RC, Yokomo, ZD Racing and Zipzaps. |
|
Hints, Tips and Information
How to put on Decals
After spending lots of time and effort to paint your bodyshell, you come to the point where you make it look good by putting on all those flashy decals, but before you rush in with the scissors and start cutting, there are a few things you should do first. |
|
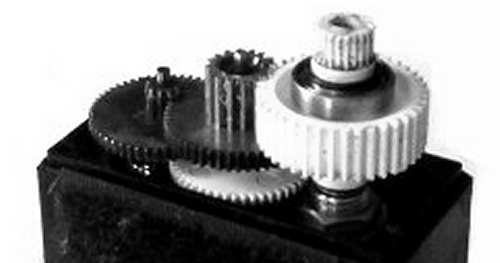
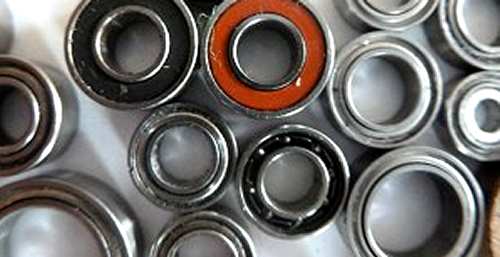
Hints, Tips and Information
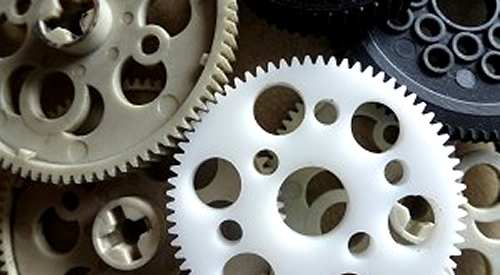
Look after your Gears
In RC there are a number of different gear teeth sizes we tend to use, based on two systems. Imperial and metric. |
|
RC Models:
|
Radio & Motors: |
Other
Accessories: |